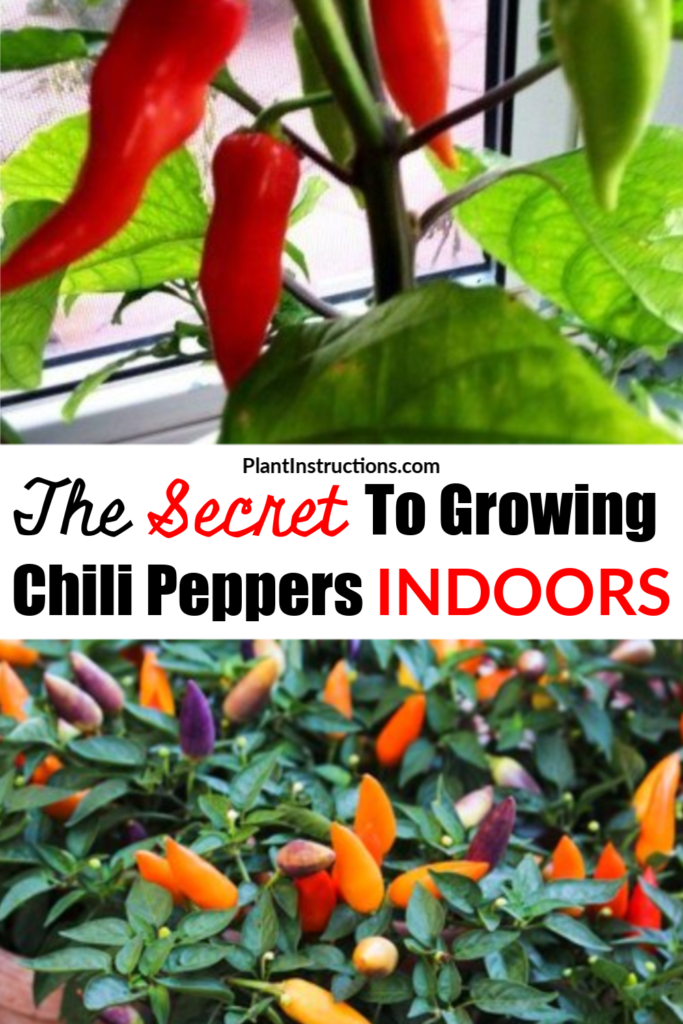
If you love spicy everything, you have come to the right place. For lovers of all that is spicy, we have this easy to follow guide on how to grow chili peppers indoors!
This fruit plant from the genus capsicum originated in Mexico and was later distributed throughout Europe and Asia. Chili peppers are widely popular and used in many countries to add heat to dishes. With a long list of varieties, chili peppers are everyone's favorite!
How to Grow Chili Peppers Indoors
Temperature:
When it comes to growing chili peppers indoors, the temperature is an important factor since chili peppers prefer warm climates. Some varieties like capsicum annum (jalapeño and Thai peppers) like moderate humidity and plenty of sun. Varieties like capsicum Chinese (ghost peppers, Carolina reaper, and habanero) prefer higher humidity and moderate temperatures.
Most chili peppers grow well in these conditions: during germination in temperatures from 71-75F (22-24C) and during growth, temperatures from 75-78F (24-26C).
Soil:
Chili peppers love and grow well in rich, fertile soil with good drainage. Choose a loose, rich soil that contains vermiculite or perlite or make your own mixture with aged manure and sphagnum.
Light:
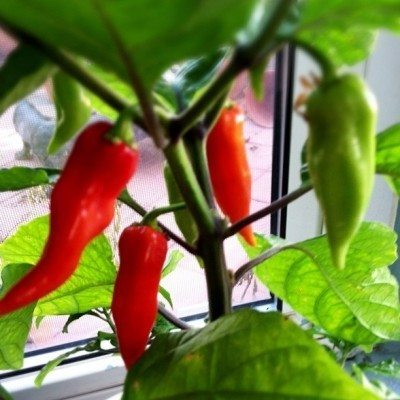
Since chili peppers love warm, light is always a factor. During the germination and growing stage, make sure to provide at least 6 hours of sunlight a day. To do this, place the pot in a window or use an artificial grow light if growing during winter.
If you don't provide your plants with the light and temperature they need, the stems could grow narrow and the growth can be stunted.
Fertilizer:
When you are growing chili peppers indoors, fertilizer can help you a lot. Fertilizer every 2 weeks with a balanced fertilizer that contains nitrogen, phosphorus, and potassium. Another option can be a fish and kelp emulsion or a concentrated liquid fertilizer.
The ingredients in your fertilizer can change depending on the variety, but most chilli peppers do well with all the above. Remember not to fertilize as much during their dormant season, which is in the winter.
Water:
Chili peppers like moist soil, but over-watering can be dangerous, and that's why watering properly is so crucial. Water the chili peppers plants until the soil is moist and then wait until it's slightly dry to water again.
Over-watering chili pepper plants can result in fungal growth, as well as root rot. Always be extra careful when watering.
Growing Chili Peppers from Seeds:

- Purchase chili pepper seed from your local nursery or online, making sure they're of good quality and organic.
- Fill almost of the top of your seed starter cell, plugs or seed tray, with good rich compost potting soil. You can also use seedling soil if available.
- Place 2-3 seeds in each cell to ensure successful germination.
- Cover the seeds with a thin layer of soil or compost.
- Water the soil to help with germination. During germination, the soil should be moist at all times. You can cover the seed tray with a plastic lid or a plastic bag to keep the moisture and heat.
- Place the seed tray in a dark place with minimum sunlight like a garage with a window for the next 2-4 weeks until sprouts occur.
- When sprouts appear, move the seed pot to a south-facing window sill where it can get at least 6 hours of indirect sunlight. Make sure to water regularly.
- When the sprouts give two sets of leaves, decide to trim the weaker ones or separate them.
- Fill a pot no wider than 3 inches with rich, well-draining soil and transplant the seedlings from the seed tray to the pot.
- Water and keep taking care of the plant with the recommendations above.
- You might have to move the plant to a bigger pot once the plant starts to outgrow its actual pot. Learn more about how to repot a plant here.
Growing Chili Peppers from Young Plants:
If you don't want to go through the whole germination process, you can always purchase a young chili pepper plant from your nursery and start growing it indoors. Follow the instructions below to achieve a successful chili pepper plant!
- Purchase a young chili pepper plant from your local nursery. Make sure the young plant is green and healthy.
- Get a new pot since the nursery pot will be too small. Choose a pot with good drainage holes, and about 3 inches wide.
- Fill the pot with rich, well draining soil, making sure not to fill all the way to the top.
- Gently transfer the young plant from the nursery pot to the new pot.
- Cover the roots, filling the pot until the top with soil.
- Add a layer of mulch around the plant to help retain moisture.
- Water and place in a window where the plant can receive lots of sunlight.
- Make sure to water only when the soil feels dry, since chili pepper plants like moist soil but not damp and over-watered soil.
- Fertilize two times a week with a good 2-2-2 10-10-10 fertilizer. A concentrated liquid fertilizer and fish emulsion are also recommended.
- Pinch any early flowers to help the plant direct all its energy to produce fruits.
Harvesting Chili Peppers:
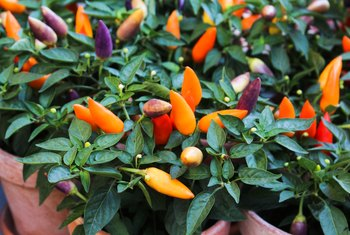
Chili peppers are normally ready to pick 75-90 days after planting, but this can change depending on the varieties. Chili peppers will be ready to harvest when they reach their full size and color.
When picking off the fruits ,never pull off the plant. Instead, use a garden clipper or knife to remove the fruit from the plant to avoid damaging the plant. Consider protecting your hands from any oil that could irritate your skin.
If you happen to pick your peppers before the are fully mature, don't panic! Simply place the immature pepper in a window to receive sunlight until it's fully ripe.
Now that you know how to grow chili peppers indoors, it's time to roll on your sleeves and get to planting!
Like this post? Pun, share and comment below 🙂


Very informative, easy to follow, and keeps a new gardener trying